Showing posts with label Felt. Show all posts

Friday, February 8, 2013

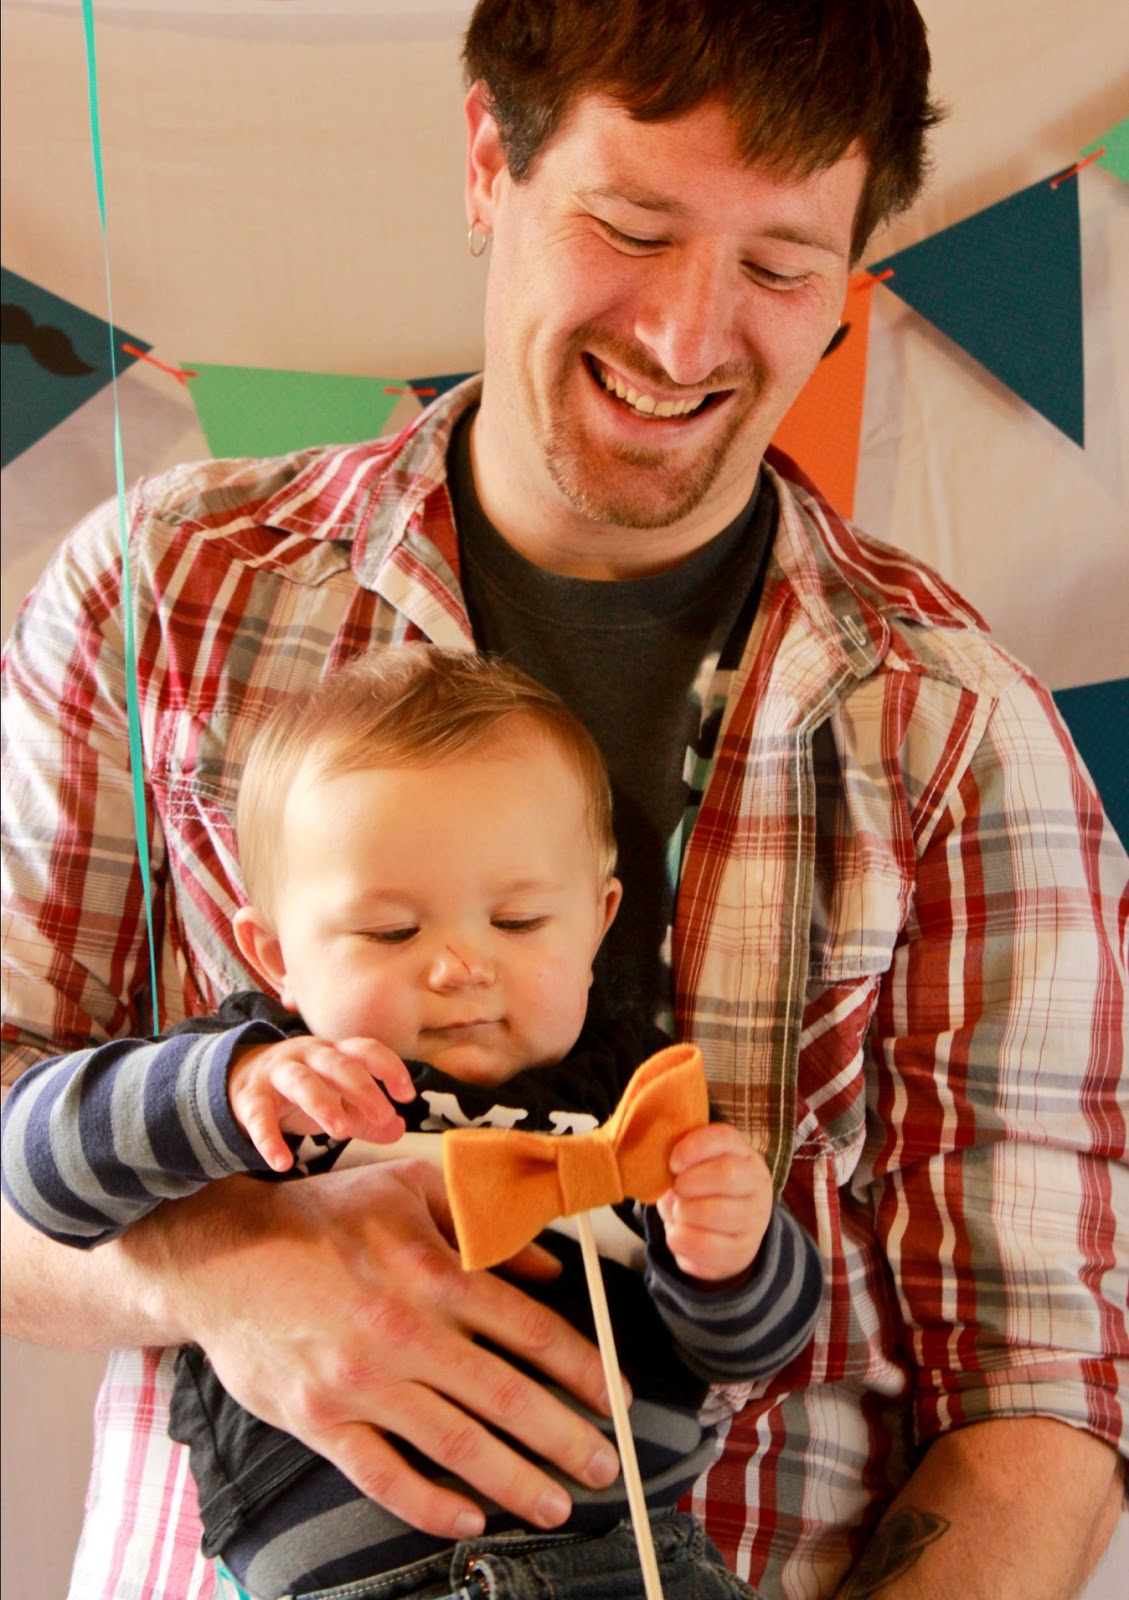
'Stache Bash Photo Booth Props

It was little man's first birthday! And we threw him a little gentleman's 'stache bash. I love a baby in a bow tie.

A big hit at the party was the photo booth I put together. And by "booth" I mean wrinkly sheet I hung in the corner. Don't get me wrong. We tried to iron it before the party, but it somehow re-wrinkled by the time I hung it up. 

The mustache props were so easy put together. And the photo booth was so much fun for all of the adults while the toddlers played in the ball pit and pushed dump trucks around.

This is one of my favorite pics from the 'stache bash photo booth. Louise and Angie crack me up!

Notice the wrinkly sheet I mentioned earlier.


Let's go through the easy step-by-step to make your own photo booth props.

Friday, February 24, 2012

"Bling Box" for Little Ladies

Our friends' little girl turned 3 a few days ago and I wanted to make her something special for her birthday. The challenge was my limited budget and last-minute time crunch (my creative genius always likes to make its appearance at the last minute). I knew that she loved to play dress-up with her cousins. So I came up with the idea for a "bling box." 

This bling box has everything a little lady needs to accessorize her outfit - necklaces, bracelets, rings, sunglasses, and girly headbands. And it's made mostly from stuff I had around the house and items from the dollar store.


I used a hatbox, that I already had laying around the house, and personalized it with her name.
I used my Cricut to cut out the letters, then decoupaged them, as well as a blue strip on the side, onto the box using Mod Podge.

Thursday, December 15, 2011

5 Days of Felt : Snowy Trees

I'm sorry I've been slacking on posting for the 5 Days of Felt. I have multiple felt projects started, but none finished. I also have my hands in about 10 different handmade gifts for Christmas. Sometimes I look around and think How am I going to get this all done? But as a lifelong procrastinator, I'm sure I'll pull it out. Last minute, that's just how I function.


Sometimes crafty ideas don't turn out quite the way you hope. I had high hopes for these snowy trees. They ended up looking not-so-fabulous. I spent way too long trying to make the tops of the trees look right and they still look funny. But I'm going to share them with you all anyway. Day 3 of 5 Days of Felt : snowy white felt trees.


I started with styrofoam cones. I bought the green cones since they were on sale (the white cones, of course, were not). I first covered the cones with a layer of white felt so that the green wouldn't show through.


Next, I cut strips of felt about 2 inches wide and then cut a scalloped edge into each strip. 


I ran glue and sprinkled glitter along the curved edges. You can kind of see the glitter below. It makes it look like freshly fallen snow.


After hot gluing all of the strips to the cone, the last step is making a top for the tree. Mine look weird, I hope yours will look better.


Day One: Ruffly Rosette Wreath
Day Two: Felt Gift Bows

Thursday, December 8, 2011

5 Days of Felt : Felt Gift Bows

It's Day Two of 5 Days of Felt and today I want to share how to make reusable felt bows. The beauty of these little guys is that they can't get crushed in the car, on the way to family gatherings, like paper bows do. And they cost around 50 cents each! These were inspired by How About Orange's magazine bow tutorial.


What you'll need :
   - 9"x12" sheets of felt
   - ruler
   - scissors or rotary cutter
   - hot glue gun and glue

Sunday, December 4, 2011

5 Days of Felt : Ruffly Rosette Wreath

Ever since I made the felt dress up dolls, I have been so excited about felt! I hadn't used felt since I was a kid, but lately I've been searching for more adult ways to use it. With all of these great ideas, I've decided to do 5 Days of Felt. I can't promise that they will be five consecutive days, but there will be five days with five fun ways to use felt.

To kick off 5 Days of Felt, I'm sharing this ruffly rosette wreath that I made for my sister's house. I came across the tutorial for the rosette wreath at Domestifluff awhile ago and had been wanting to try it. I also wanted to decorate my sister's house for Christmas since my little nephew had just been born and she was a little busy with the whole newborn thing.

Please forgive the car seat backdrop. My car was the only place with good light. This is the wreath in route to my sister's house. You might be thinking pink?, that's not a traditional Christmas color. But my sister = not so traditional, just one of the many reasons I love her!


Now let me show you how to make it. You'll need: 
  - 12" styrofoam wreath
  - about 2 yards felt (maybe a little less)
  - a box of 200 straight pins
  - 3" circle template
  - pen

The first step is to cut a 3" circle template from some cardstock. Then get to tracing! I started with the 9"x12" sheets of felt. I could fit 10 circles on one sheet. I ended up running out of sheets of felt so I headed back to the store and then bought a yard of felt in the same color. That's why I'm not sure exactly how much felt you need total. I do however know that I cut out 168 circles. That's right, I counted. I only   covered the front and sides of the wreath so that it would lay flush with the wall. If you want to cover the back of the wreath as well, you will definitely need more circles.


Once you have the circles cut out (that is the most time consuming part), it's time to start covering your wreath with ruffles. Take each circle, fold it in half and then half again. Push a straight pin through the bottom corner.


Monday, November 7, 2011

DIY Felt Dress Up Dolls

Ryan's twin nieces were turning six and I wanted to make them something special. I came across this idea for felt dress up dolls at Smile and Wave, which also led me to these extremely cute felt dresses by Olivia Mew. I absolutely love the way the dolls turned out! 


I couldn't wait to start cutting out the miniature fashionistas. I headed to Joann's and grabbed a bunch of felt. I hadn't done any crafts with felt in a loooong time. I was surprised to find they even had animal print felt. 


Of course, I had to throw in a little felt wiener dog. We had fun coming up with the accessories. Ryan made the cupcakes and cut the parrots freehand! He never ceases to amaze me.


Rachel was sweet enough to share a template for the dolls in her post. Use this as a jumping off point and then channel your inner fashion designer and run with it.


A hunt through my craft room turned up flower-shaped brads, mini pearls, ribbon, buttons, and lots of little bling. So I went to town adding the finishing touches to the clothes.

Meow! My attempt above at felt cat-eye glasses. Maybe if I had done them in black, they would have looked more like cat-eye glasses and less like a superhero mask.

I would have loved to make even more clothes and accessories. Ryan had to pull me away when I was still cutting out little hairdos and handbags ten minutes before the party was supposed to start. He reminded me that I could make them more wardrobe pieces as a Christmas gift (which is the perfect idea since I'm sure a few pieces will have been sucked up into the vacuum by then). 


Now I know that it's lame to give a dual gift to twins. But with the sandwich board they can each have their own side to dress up dolls. I personalized them with their names. Plus they have twice the wardrobe options so they can swap clothes with each other, doll clothes that is (one of the twins is much taller than the other).

You can choose a different color for the board felt. But I ended up following Rachel's lead and choosing a light gray. No other color worked as well. It's neutral and it allows the brightly colored clothes to pop.

Here's how to make the felt board :

LinkWithin

Related Posts Plugin for WordPress, Blogger...