Showing posts with label Costume. Show all posts

Thursday, October 31, 2013

DIY Pregnant Baseball and Umpire Costumes

In posting this, I realize that I haven't even shared with you all that I'm pregnant! After planning the wedding, then getting knocked up, and teaching high school on top of it all - I just have so little energy. Little energy = blog not being updated. So sorry! I'll do my best to continue to share all of the crazy and creative things we come up with (including our Gender Reveal BBQ). 

For now, here's the last minute costumes that my husband came up with using crap we had around the house. 
An hour before a costume party, out in the boonies, we were left with few options. My genius idea: I'll be Super Baby-maker, just tie a cape around my neck. But he insisted we have some sort of couple's costume (guess he didn't want to be the Super Impregnater). 

So he came up with these baseball-inspired costumes. Quick, easy, cheap, and best of all (for me at least) comfortable.

Friday, February 8, 2013

'Stache Bash Photo Booth Props

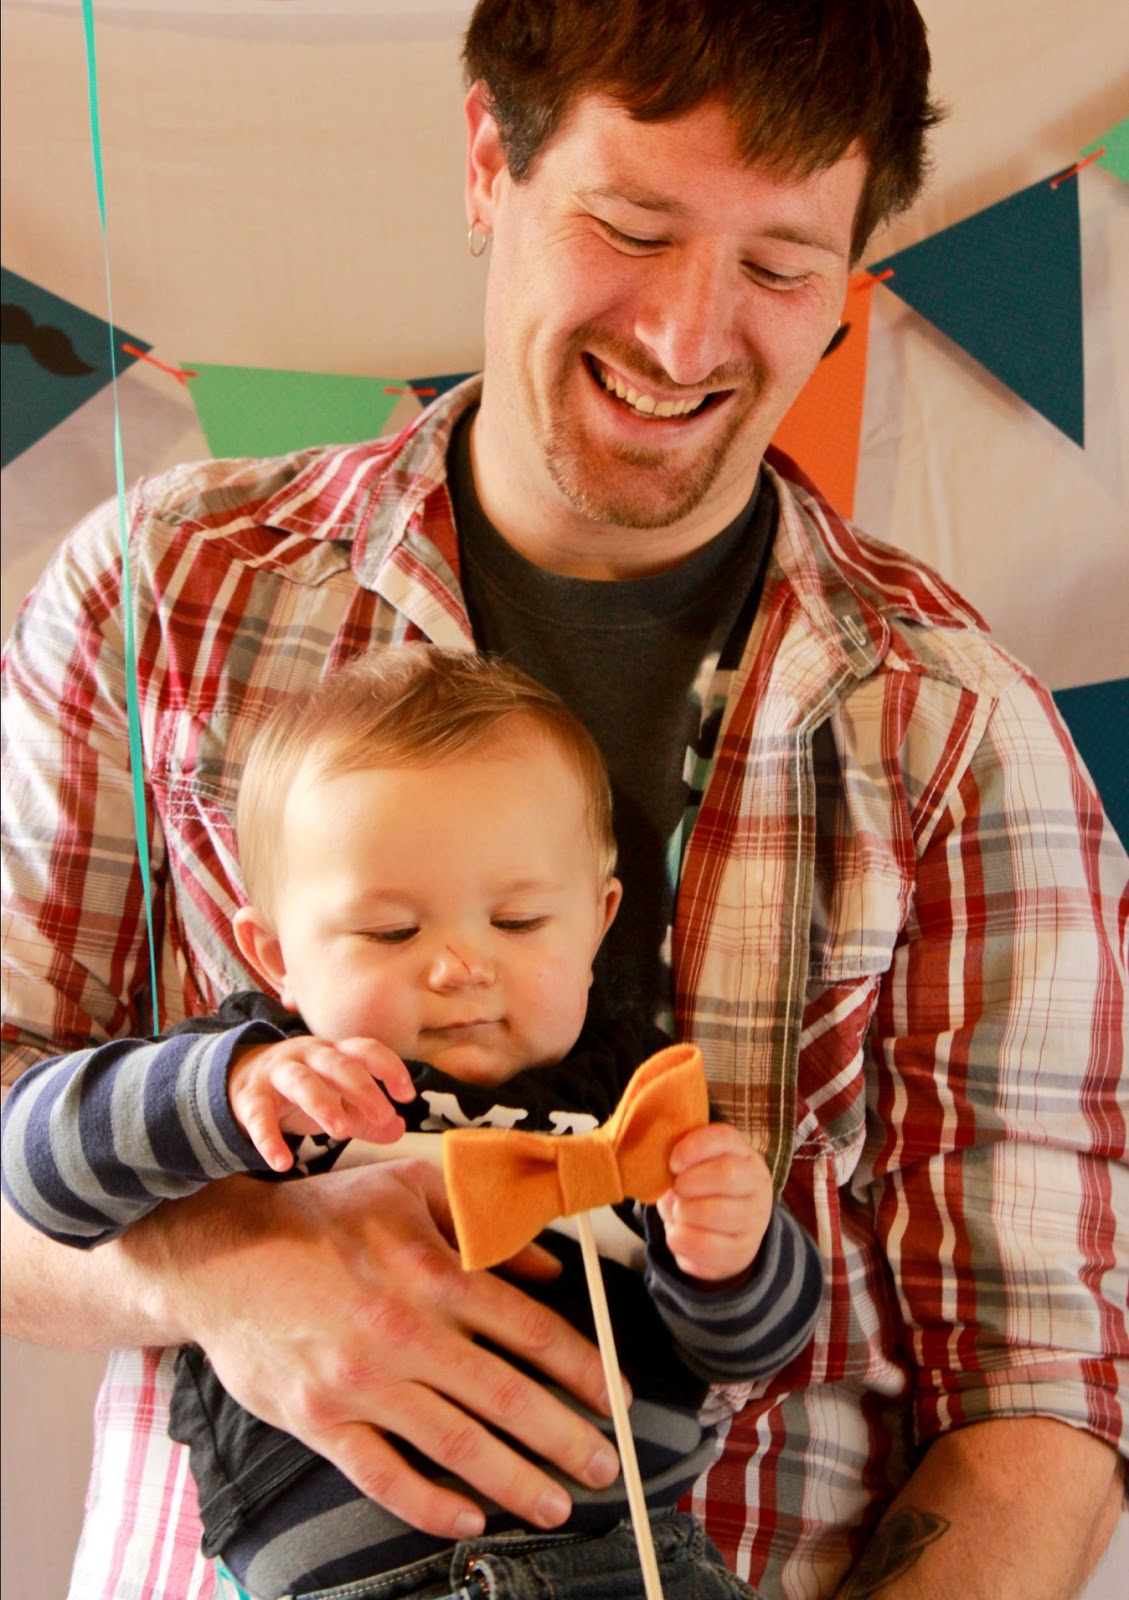
It was little man's first birthday! And we threw him a little gentleman's 'stache bash. I love a baby in a bow tie.

A big hit at the party was the photo booth I put together. And by "booth" I mean wrinkly sheet I hung in the corner. Don't get me wrong. We tried to iron it before the party, but it somehow re-wrinkled by the time I hung it up. 

The mustache props were so easy put together. And the photo booth was so much fun for all of the adults while the toddlers played in the ball pit and pushed dump trucks around.

This is one of my favorite pics from the 'stache bash photo booth. Louise and Angie crack me up!

Notice the wrinkly sheet I mentioned earlier.


Let's go through the easy step-by-step to make your own photo booth props.

Thursday, November 1, 2012

"Dia de Los Muertos" Sugar Skull Face Paint Tutorial

One of the many things I've learned from my mom -- always make your own Halloween costume and never spend a lot of money doing it. It's like a personal challenge every year to come up with a super sweet costume idea using things around the house and/or spending as little as possible. 

For example, my owl costume from last year or my paper wig.

And of course my man gets just as into it as I do. He's got just as many creative juices, flowing through his veins, as I do. Have I mentioned we're a match made in heaven? 

This year is another story. We've been so busy and exhausted lately. I mean, where did October go? We really hadn't planned anything for Halloween. Then Ryan came home from work the day before Halloween with some face paint and some rhinestones. "I'm going to make you a pretty little sugar skull," he said. 

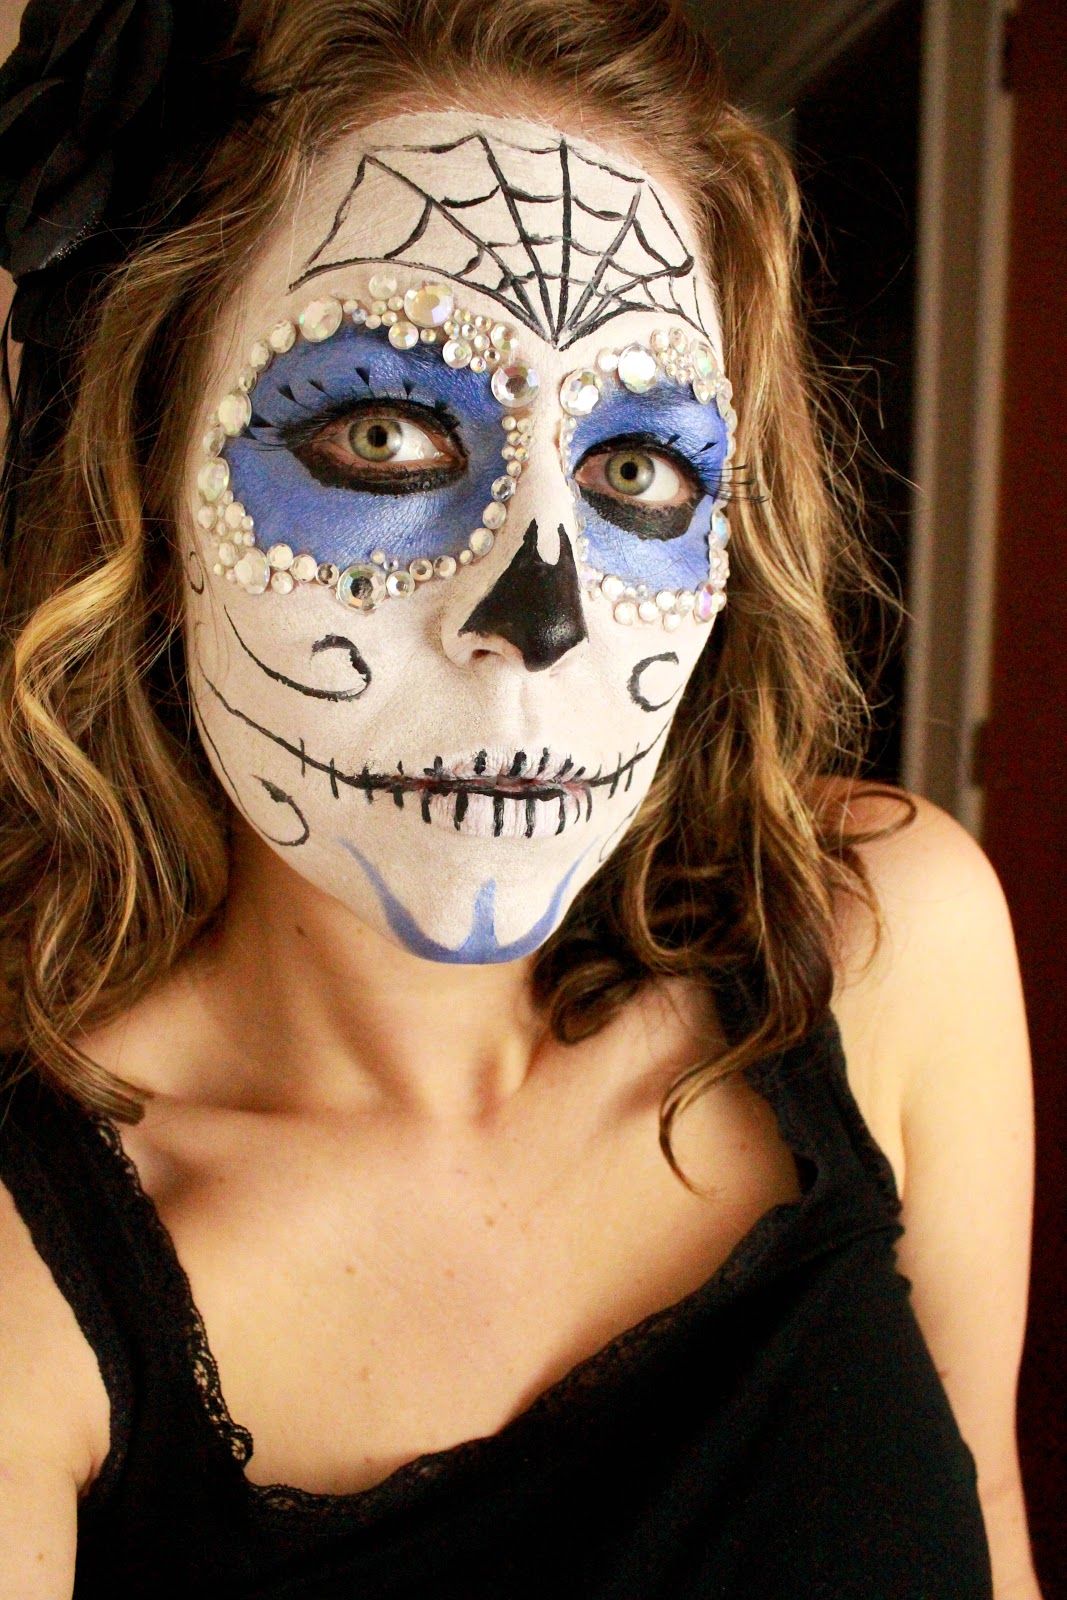
I've had this fabulous photo pinned of a beautiful girl with her face painted like a sugar skull from el Dia de Los Muertos (Day of the Dead). Ryan used her as the inspiration for what you see below. It's creepy, it's sparkly, it's awesome.


We got up earlier than usual so that he could paint and bedazzle my face before work. Unfortunately, not early enough to have time to take photos of each step as I had hoped. So I apologize for the lack of photos during the process, but I'll try to explain the steps as best I can.

Wednesday, November 2, 2011

Harry Potter and a DIY Paper Wig

Now I am one of a rare and dying breed...those that have never read any of the Harry Potter books or seen any of the movies. Gasp, I know. And it just so happens that Ryan and I were invited to a Harry Potter-themed Halloween party. What's a girl (with no Harry Potter knowledge) to do? Google it.

We decided on Gilderoy Lockhart for Ryan. One rented 3-piece suit and a carefully styled wig later...

            
When it came to me the first suggestion was Madame Maxime. She's a French teacher...I'm a French teacher, she has a brunette bob...I have a brunette bob. My research revealed that she is mighty tall. Ryan's suggestion: "Just walk around on stilts." Um...I was definitely not committed enough to the character to risk a broken ankle.

Then we came across Sybill Trelawney, Professor of Divination. Big coke bottle glasses, hippy attire, and long wild hair. Now that's a costume I could put together.

            
Call me weird, but I refused to wear a wig from the costume rental store. The wigs I looked at had bobby pins and leaves still in them from the last customer. Scenarios ran through my mind of how someone ends up with leaves in their wig. No thank you. 

The used wig was out. Store-bought wigs were pricey. I had made a paper wig in the past while working at a summer camp for kids. Trelawney's crazy hair would be easy to make out of paper. It's really simple, let me show you...

All you need is a hot glue gun, scissors, paper of your choice, and a beanie. The first time I made a paper wig, I didn't use a beanie. I simply made a skull-cap by holding butcher paper over my head and wrapping masking tape around, then trimming it.

Since Trelawney's hair is sort of a brushed out perm, I wanted to give the paper texture. This paper crimper did just that.

After running sections of paper through the crimper, I cut them into strips. Next, I folded the strips accordion style.

Sunday, October 23, 2011

DIY Lady Owl Costume

I was determined to make my own costume this year...on the cheap. The materials for this little owl costume ended up costing less than twenty dollars! I'm so happy with how it turned out and it was so easy. Anybody could do it and it would be great adapted for kids or even babies (how cute would a Onesie with these little fabric feathers be?).

I was inspired by this really cute homemade owl costume by Chelsea over at Seablanket. She used a pillowcase, but my...girly figure (to put it nicely) wouldn't exactly fit in the pillowcase I tried. Easy solution: clearance dress from Ross. I was originally looking for a mod 60's boxier dress shape, but no luck. I did however find this sweater dress for $7.99. Here's the before :


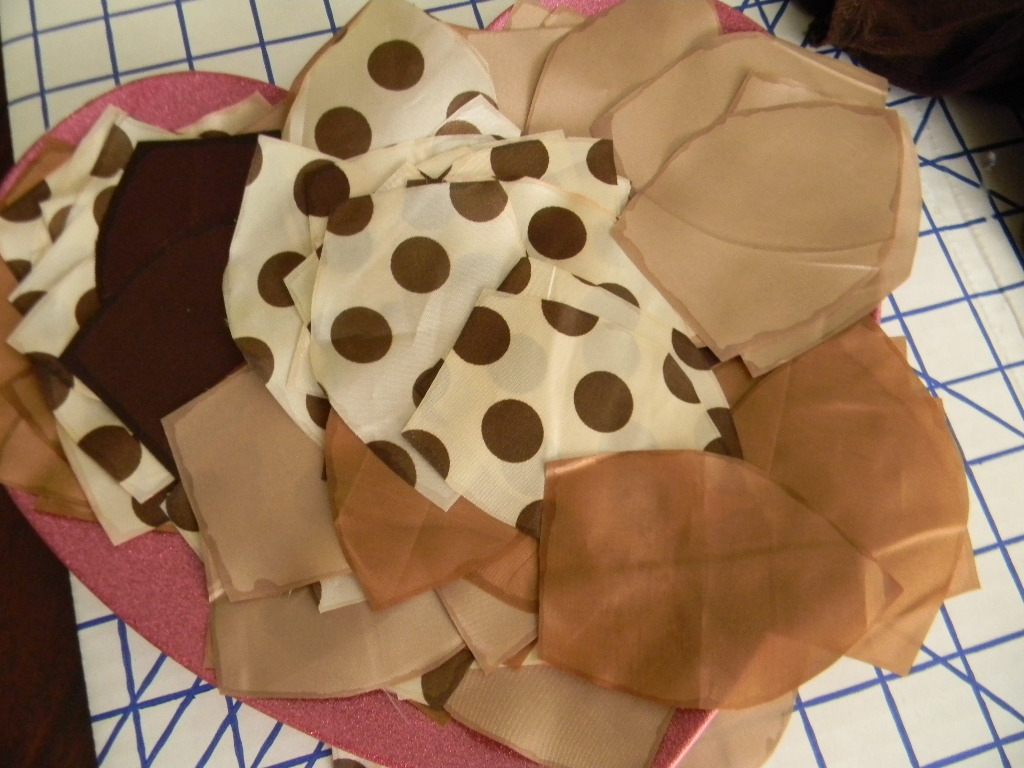
I went to Joann's, 20% off coupon in hand, to gather fabrics for my costume. The fabric I decided on is actually lining. It's lightweight, cheap, and it has a pretty sheen. I originally bought the zebra fabric thinking it might look feathery  once cut in the right shape. But in the end, I decided against the zebra print.

I cut out large petal shapes from each fabric color. The only problem with the fabric I chose was that it frayed easily. So I ran a little Fray Check along the edges and problem solved. When it came to putting the petals on the dress, my little hot glue gun worked like a charm. Quick and easy.

LinkWithin

Related Posts Plugin for WordPress, Blogger...