Showing posts with label Tutorial. Show all posts

Friday, February 8, 2013

'Stache Bash Photo Booth Props

It was little man's first birthday! And we threw him a little gentleman's 'stache bash. I love a baby in a bow tie.
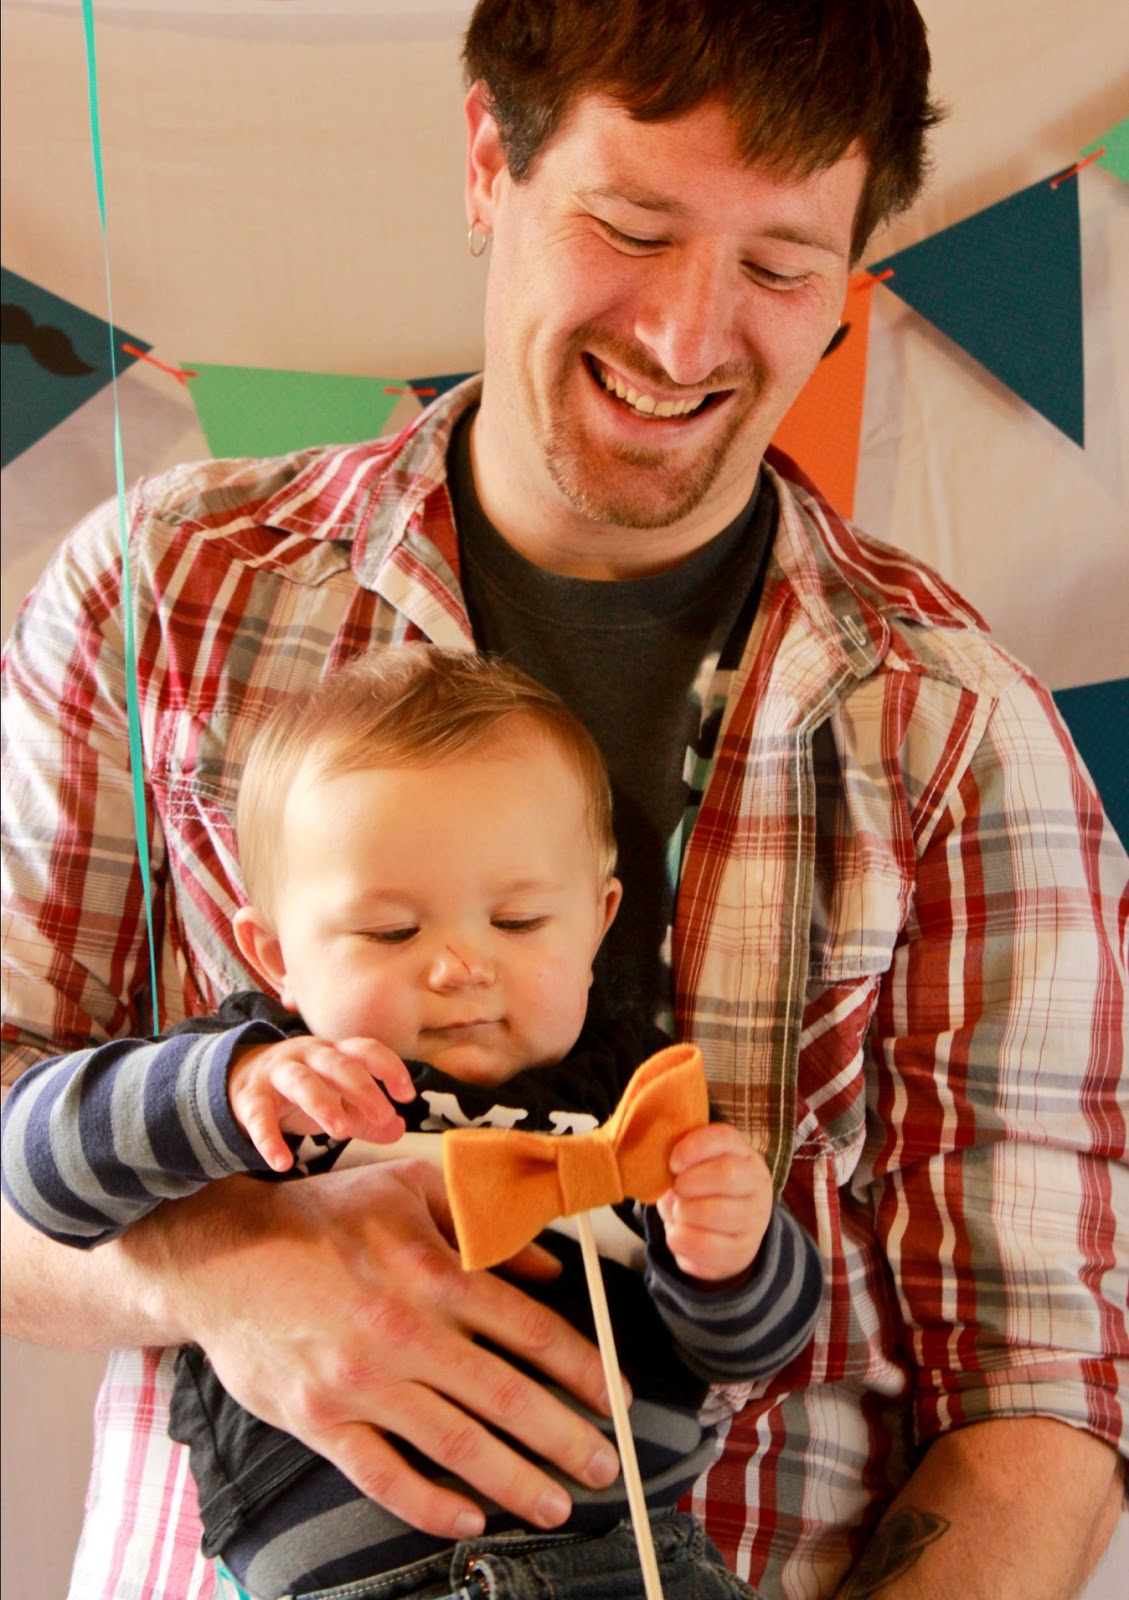
A big hit at the party was the photo booth I put together. And by "booth" I mean wrinkly sheet I hung in the corner. Don't get me wrong. We tried to iron it before the party, but it somehow re-wrinkled by the time I hung it up. 

The mustache props were so easy put together. And the photo booth was so much fun for all of the adults while the toddlers played in the ball pit and pushed dump trucks around.

This is one of my favorite pics from the 'stache bash photo booth. Louise and Angie crack me up!

Notice the wrinkly sheet I mentioned earlier.


Let's go through the easy step-by-step to make your own photo booth props.

Sunday, November 25, 2012

Baby Birthday Banner {Tutorial}


It was my nephew's first birthday last week! And we threw him a mustache bash. I'll be sharing all of the stashy details soon enough. First up, this super cute baby face birthday banner. I got the idea from Stephanie over at Simply Radiant

I made two banners celebrating my nephew's adorably expressive face throughout his first year. And I absolutely love how they turned out. Some party goers thought they were really cute, some thought they  were a wee bit "creepy", but one thing's for sure they made everyone smile. My aunt even kept one of the banners to hang in her cubicle at work.

Thursday, November 1, 2012

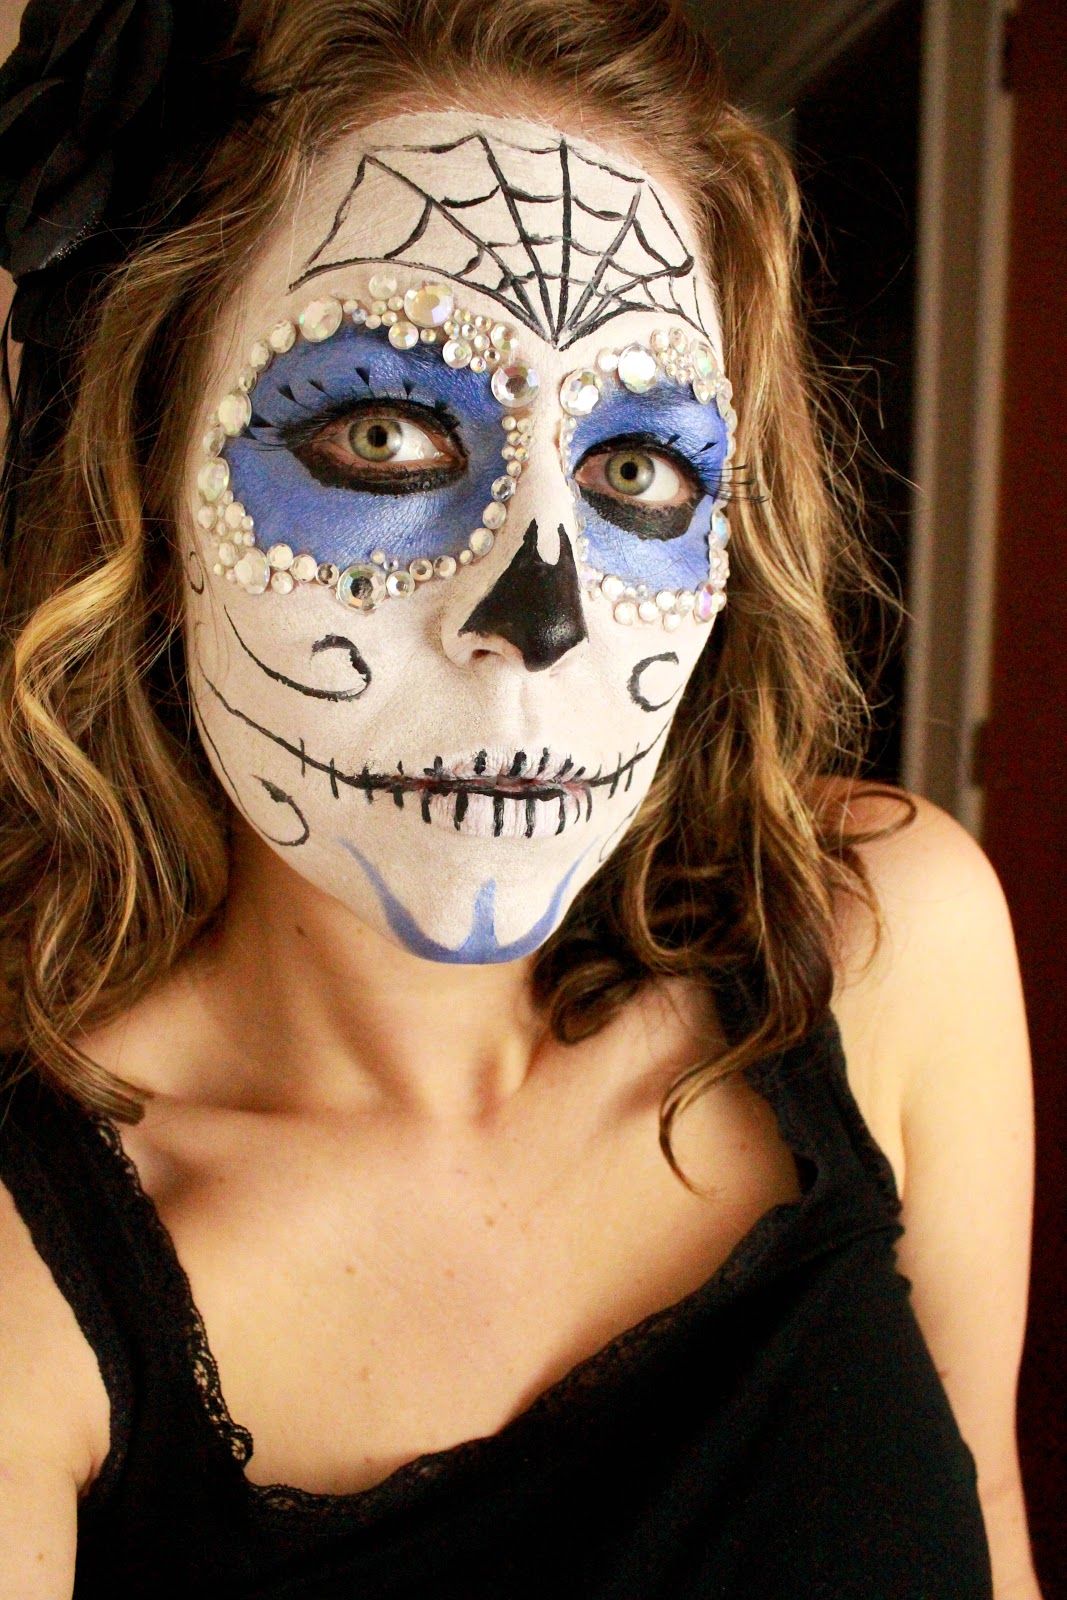
"Dia de Los Muertos" Sugar Skull Face Paint Tutorial

One of the many things I've learned from my mom -- always make your own Halloween costume and never spend a lot of money doing it. It's like a personal challenge every year to come up with a super sweet costume idea using things around the house and/or spending as little as possible. 

For example, my owl costume from last year or my paper wig.

And of course my man gets just as into it as I do. He's got just as many creative juices, flowing through his veins, as I do. Have I mentioned we're a match made in heaven? 

This year is another story. We've been so busy and exhausted lately. I mean, where did October go? We really hadn't planned anything for Halloween. Then Ryan came home from work the day before Halloween with some face paint and some rhinestones. "I'm going to make you a pretty little sugar skull," he said. 

I've had this fabulous photo pinned of a beautiful girl with her face painted like a sugar skull from el Dia de Los Muertos (Day of the Dead). Ryan used her as the inspiration for what you see below. It's creepy, it's sparkly, it's awesome.


We got up earlier than usual so that he could paint and bedazzle my face before work. Unfortunately, not early enough to have time to take photos of each step as I had hoped. So I apologize for the lack of photos during the process, but I'll try to explain the steps as best I can.

Thursday, June 21, 2012

Road Trip Kit {Tutorial}

My parents are currently on a very long road trip and my house was the first stop. Knowing my mom's tendency to crave snacks and my step-dad's affinity for pop-rock mixed CDs, I wanted to make them a road trip kit, to take with them the rest of the way.

This six-pack case had been hanging out in my craft room for awhile, waiting for the perfect occasion to be used. This was it. And just like the robot baby shower favors, this kit uses Starbucks Frappaccino bottles. They're piling up in my garage, so the more crafty ways to reuse them the better.  

This kit is cute, portable, full of tasty snacks and road trip tunes - it's the perfect road trip companion. Best of all it's cheap. This easy gift was made from things I had laying around the house. The only thing I went out and bought specifically were the snacks (tailored to my parents tastes, of course).


Thursday, June 7, 2012

Brag Books from Paper Lunch Sacks


My mom saw a little brag book in a local store made out of brown paper bags. She asked if I could make her one. Well...I love a challenge. After tinkering around in my craft room for awhile, I came up with these little brag books, using brown lunch sacks from my pantry.

These brag books are just what you'd think. They're mini scrapbooks to show off the little ones in your life.  They can easily fit in your purse and they're a definite upgrade from wallet photos.


The open ends of the lunch sacks become pockets for extra photos. So as time goes by you can always tuck more recent photos inside.

LinkWithin

Related Posts Plugin for WordPress, Blogger...