Tuesday, July 15, 2014

Retro Housewife Maternity Shoot

I've been holding on to these photos for months now. My sister and I actually took these maternity shots on New Year's Eve. Wow, has it really been that long? Time flies when you're taking care of a little human.

This shoot gave me an excuse to get all dolled up. Much needed, because at nine months pregnant, you don't often feel glamorous. So I painted my nails, threw on some rouge, and wore heels for the first time in six months.


An apron is the perfect accessory for maternity photos. It cinches at the waist and accentuates the baby bump.

Friday, January 24, 2014

Rustic Maternity Photo Shoot


We took these photos in late December, when the weather was absolutely gorgeous here in Northern California. Only a few weeks before, we had a few inches of snow covering the ground. Despite the fact that we threw this photo shoot together extremely last minute, I absolutely adore the photos!

Pretty much the only thing I had planned ahead of time was this dress I found the day before (50% off!). An hour before sunset, we were still running around the house. I was looking for shoes and throwing makeup on, Ryan was shaving and picking out a shirt, my sister was checking to see if the chalkboard paint had dried, and we were all throwing props in a bag.

We had about 40 minutes before the sun went down. We headed up to our barn and just started shooting. My sister doesn't claim to be a photographer, but she stepped into the role with ease. She was standing on wine barrels, moving like a ninja to get different angles, props hanging out of her pockets. She was a rock star.

I sure do love chalkboard paint!

Saturday, January 4, 2014

Sneak Peek: Rustic Maternity Shoot

Here's a sneak peek at our maternity photos. My sister claims to not know what she's doing, but they turned out amazing! We did both a rustic shoot up by our barn and a retro housewife shoot. For now, here's a preview of our rustic maternity photos.


Friday, January 3, 2014

Gender Reveal Baby BBQ

Here's the long overdue photos from our gender reveal baby BBQ. I blame the lack of keeping up on posts on the wee babe I'm currently cooking. That's one of the perks of being pregnant, right? Our gender reveal barbecue was only, let's see, four months ago. Forgive me.

We found out the sex of Baby Turner at our ultrasound, but decided to do a fun reveal for our family and friends. We invited everyone over to our place for tri-tip, beer, and a gender reveal. Above is the invite. Below are some of the crafty details.


As folks arrived, they had the opportunity to bet on the sex of the baby. Guests dropped a dollar in the jar and then wrote their name on a slip and circled boy or girl. We framed a list of old wives' tales used to predict gender. They turned out 50/50.


After the gender reveal, we pulled out all of the slips with the correct gender circled. While everyone was chowing down, we drew a winning slip and gave the winner a mason jar filled with all the cash.

Thursday, October 31, 2013

DIY Pregnant Baseball and Umpire Costumes

In posting this, I realize that I haven't even shared with you all that I'm pregnant! After planning the wedding, then getting knocked up, and teaching high school on top of it all - I just have so little energy. Little energy = blog not being updated. So sorry! I'll do my best to continue to share all of the crazy and creative things we come up with (including our Gender Reveal BBQ). 

For now, here's the last minute costumes that my husband came up with using crap we had around the house. 
An hour before a costume party, out in the boonies, we were left with few options. My genius idea: I'll be Super Baby-maker, just tie a cape around my neck. But he insisted we have some sort of couple's costume (guess he didn't want to be the Super Impregnater). 

So he came up with these baseball-inspired costumes. Quick, easy, cheap, and best of all (for me at least) comfortable.

Friday, August 30, 2013

Love Story Save the Dates

For our save the dates, I wanted to do something more personalized than just a postcard with a date or a photo. I had seen examples on Etsy of Love Story Save the Dates. I took the inspiration and ran with it. The end result was fun and different. It gave guests, who may not have known, insight into our love story.

I'm sure there are many amazing programs that are better suited for a project like this. But I'm a girl that likes to stick with Word. It's simple and user-friendly, at least to me. 

I knew I wanted a long skinny look. So I started by picking out the envelopes at Michael's. Each pack of envelopes was originally $5. They were 40% off, and after my teacher discount of 15%, I got them for $2.54 each. 

The dimensions of the envelope dictated my margins in Word. You want to make sure that guests don't have to wrestle with the cardstock to get it out. I adjusted my margins so my usable area was 4" wide and used regular 8.5 x 11" cardstock that I had laying around the house. 

Monday, August 5, 2013

Our Vintage Country Wedding

I'm so sorry that I haven't posted in what seems like forever. I got caught up in wedding projects, then came the wedding, then after the wedding seemed like "phew, I need a break!" Now I'm back. And I want to share some photos of the wedding with you all.

Ryan and I paid for the wedding ourselves. Neither of us make a ton of money, but we were creative, included as much DIY as possible, and had help from tons of amazing friends and family. 

We had bought our dream home in January (a screaming deal!). Twenty-two beautiful acres in Northern California. After looking around at outrageously expensive wedding venues, we thought "Why not just do it at our place?" Instead of paying several thousand dollars to rent someone else's barn, we could put that money into building a barn of our very own. 

So we did. A high school friend of Ryan's has a family-owned construction company. He came up to take a look at our place. He asked if we were sure we didn't want to just do a metal barn - it would be cheaper. We told him that we were set on a pole barn with a tin roof. Just like they would have built 50 years ago. 

In true procrastinator's style, barn construction began in the second week of March, the wedding date was the second week of April. Cutting it close!


The flowers turned out beautiful! I actually have a friend that teaches a floral arrangement class at a local charter school. She offered to have her students do all of our flower arrangements for free. We just paid for the flowers wholesale through one of her contacts. It was a life saver!


We kept the attire comfy casual. The guys wore pressed wranglers and vests. The girls wore sundresses and cowboy boots. Pretty low budget. I'll break down the cost in another post.


We filled mason jars with true homemade Apple Pie Moonshine for favors. The real deal. If you've never had it, it's ridiculously good! Most people broke into their favors early, which made for a lot more people shaking it on the dance floor.

Friday, February 8, 2013

'Stache Bash Photo Booth Props

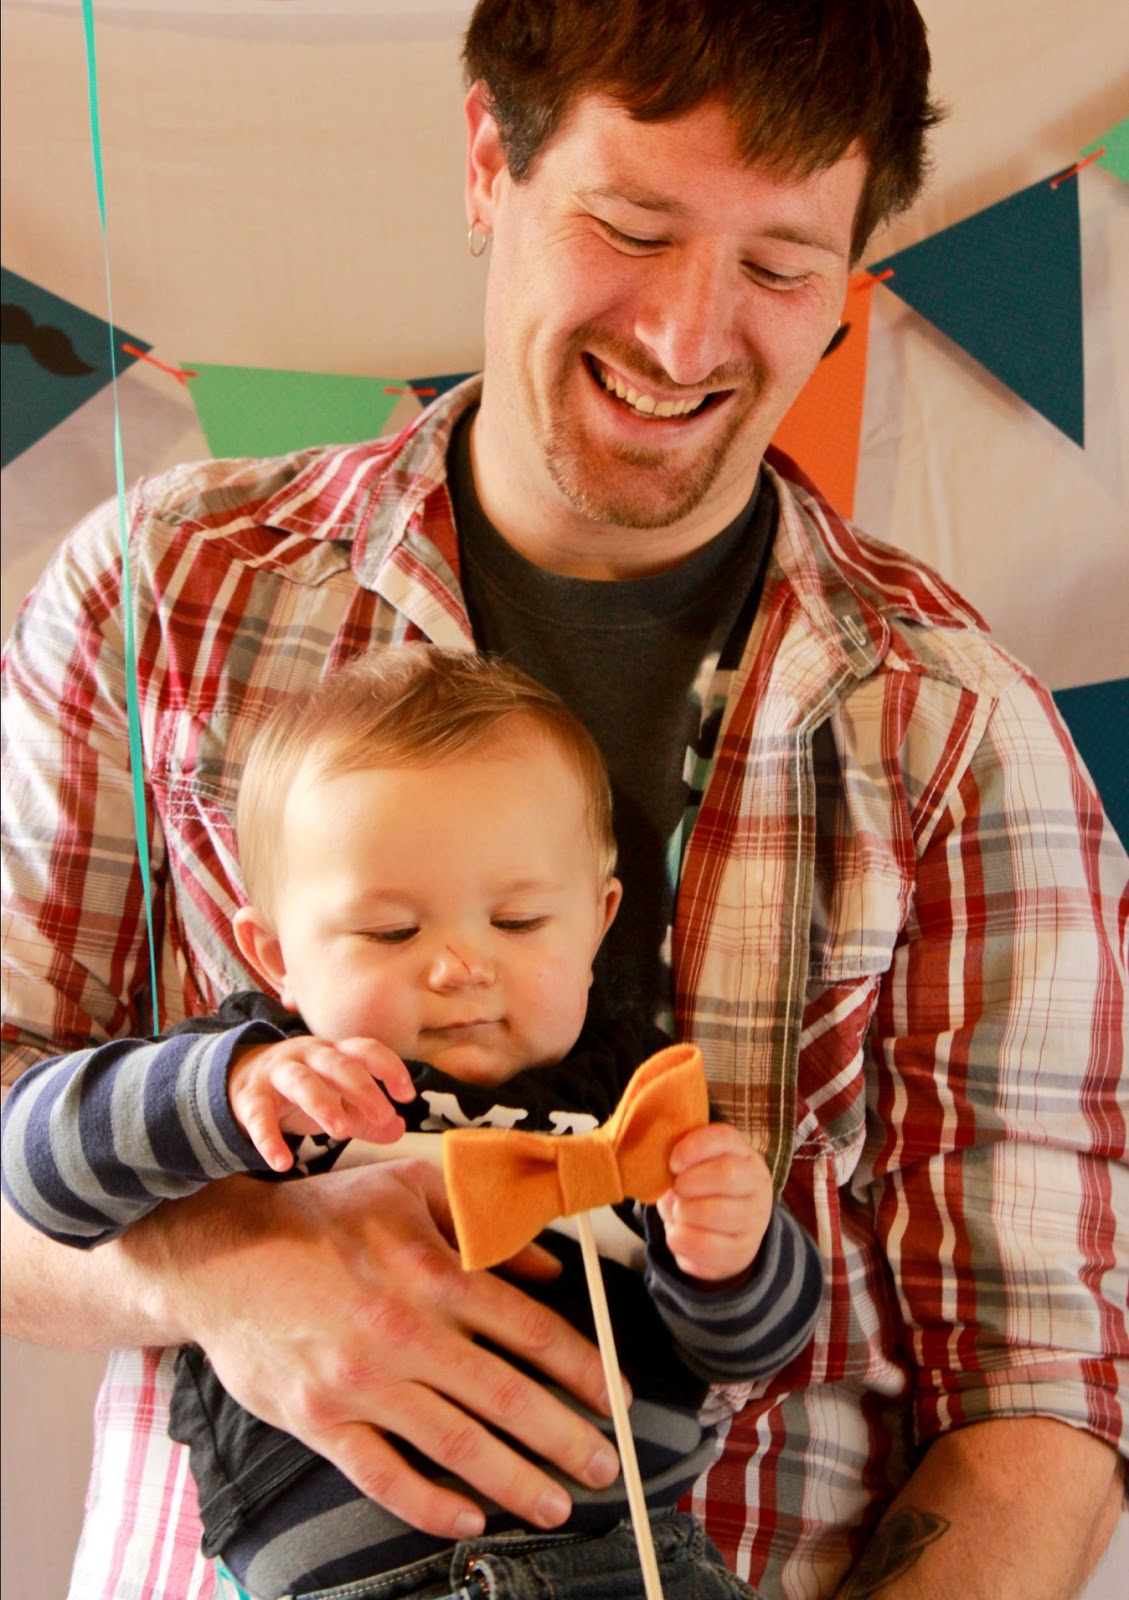
It was little man's first birthday! And we threw him a little gentleman's 'stache bash. I love a baby in a bow tie.

A big hit at the party was the photo booth I put together. And by "booth" I mean wrinkly sheet I hung in the corner. Don't get me wrong. We tried to iron it before the party, but it somehow re-wrinkled by the time I hung it up. 

The mustache props were so easy put together. And the photo booth was so much fun for all of the adults while the toddlers played in the ball pit and pushed dump trucks around.

This is one of my favorite pics from the 'stache bash photo booth. Louise and Angie crack me up!

Notice the wrinkly sheet I mentioned earlier.


Let's go through the easy step-by-step to make your own photo booth props.

Thursday, February 7, 2013

Baby Announcement Gone Right?

Our friends Katie and Clayton are having their second baby and it's a boy! When Katie asked if I could help them take some pictures to announce the new baby, I said "Of course! No problem." So we all headed to the park to take some fun photos with their daughter, Rilyn. 

Everything started off peachy. Parents were smiling. Rilyn was smiling and rocking her cute fishtail braid (which, by the way, I still don't know how to do). We were trying different angles and shots. Then all of a sudden, Rilyn decided she was not having it. She was not going to strike another pose. The camera was her enemy. Tears started flowing. It was as if someone had told her she could never watch Bubble Guppies again. 

Well folks, sometimes you've got to go with the flow. So we ended up just setting the sign next to her as the tears continued to flow. I just kept snapping pictures. And you know what? I love them! I think they're hilarious. And so did Katie and Clayton.

So next time a photo shoot doesn't go as planned, have a sense of humor about it. You never know, they might turn out even better than you had envisioned.

Wednesday, January 2, 2013

Manly Mini Cheesecakes {Whiskey + Chocolate}

Sometimes I get these ideas and these ideas tend to come to me at the last minute. They almost always come to fruition at the very last minute actually (drives Ryan nuts). Enter these little cuties. I finished cranking them out about 5 minutes before we were supposed to leave for the party. That's right we were late. But they were totally worth it. 

They're rich, creamy, and manly. Men will devour a cute little dessert like this, pinkies in the air, if you tell them there's whiskey in it. And they're the perfect size. You can enjoy the richness of cheesecake without committing to a huge slice. I'd say they're about the size of a 50 cent piece.

Our friend Marty was turning the big five zero. That's right, he's now officially over the hill. As friends arranged a huge shindig complete with lots of boozy karaoke, I asked Marty what edible delight I could bring. He told me he looOoves cheesecake. It was the perfect excuse for me to buy the mini cheesecake pan that I'd been eyeing for years.

Marty has a boozy love affair with Crown Royale, which triggered my decision to make a sampler of boozy infused mini cheesecakes. Sweet treats + alcoholic ingredients = very happy party-goers. 


The beauty of this basic cheesecake recipe is that you can pretty much add whatever you'd like to it. I made toppings out of what I had in my cabinets and fridge. My fiancé has a ridiculous sweet tooth, so there are always mini candy bars and ice cream toppings laying around.

Sunday, November 25, 2012

Baby Birthday Banner {Tutorial}


It was my nephew's first birthday last week! And we threw him a mustache bash. I'll be sharing all of the stashy details soon enough. First up, this super cute baby face birthday banner. I got the idea from Stephanie over at Simply Radiant. 

I made two banners celebrating my nephew's adorably expressive face throughout his first year. And I absolutely love how they turned out. Some party goers thought they were really cute, some thought they  were a wee bit "creepy", but one thing's for sure they made everyone smile. My aunt even kept one of the banners to hang in her cubicle at work.

Saturday, November 17, 2012

Be my bridesmaid? {Free Printable}

I'm engaged y'all! Which means...there will be lots of wedding projects coming your way. We're planning this wedding on a very tight budget. It's going to be a very merry DIY wedding. We plan on recruiting help from all those we love around us. First up, the bridesmaids.

I put together these cards to ask my girls to be my bridesmaids. Of course, I had to let them know what they'd be signing up for. So I came up with this list of duties. It just so happens to rhyme. Don't judge.

I tried to give the list an ombre effect. So despite what some may think, my printer was not running out of ink. To download the free printable, click here.

LinkWithin

Related Posts Plugin for WordPress, Blogger...