Showing posts with label Crafty things. Show all posts

Friday, January 3, 2014

Gender Reveal Baby BBQ

Here's the long overdue photos from our gender reveal baby BBQ. I blame the lack of keeping up on posts on the wee babe I'm currently cooking. That's one of the perks of being pregnant, right? Our gender reveal barbecue was only, let's see, four months ago. Forgive me.

We found out the sex of Baby Turner at our ultrasound, but decided to do a fun reveal for our family and friends. We invited everyone over to our place for tri-tip, beer, and a gender reveal. Above is the invite. Below are some of the crafty details.


As folks arrived, they had the opportunity to bet on the sex of the baby. Guests dropped a dollar in the jar and then wrote their name on a slip and circled boy or girl. We framed a list of old wives' tales used to predict gender. They turned out 50/50.


After the gender reveal, we pulled out all of the slips with the correct gender circled. While everyone was chowing down, we drew a winning slip and gave the winner a mason jar filled with all the cash.

Friday, August 30, 2013

Love Story Save the Dates

For our save the dates, I wanted to do something more personalized than just a postcard with a date or a photo. I had seen examples on Etsy of Love Story Save the Dates. I took the inspiration and ran with it. The end result was fun and different. It gave guests, who may not have known, insight into our love story.

I'm sure there are many amazing programs that are better suited for a project like this. But I'm a girl that likes to stick with Word. It's simple and user-friendly, at least to me. 

I knew I wanted a long skinny look. So I started by picking out the envelopes at Michael's. Each pack of envelopes was originally $5. They were 40% off, and after my teacher discount of 15%, I got them for $2.54 each. 

The dimensions of the envelope dictated my margins in Word. You want to make sure that guests don't have to wrestle with the cardstock to get it out. I adjusted my margins so my usable area was 4" wide and used regular 8.5 x 11" cardstock that I had laying around the house. 

Friday, February 8, 2013

'Stache Bash Photo Booth Props

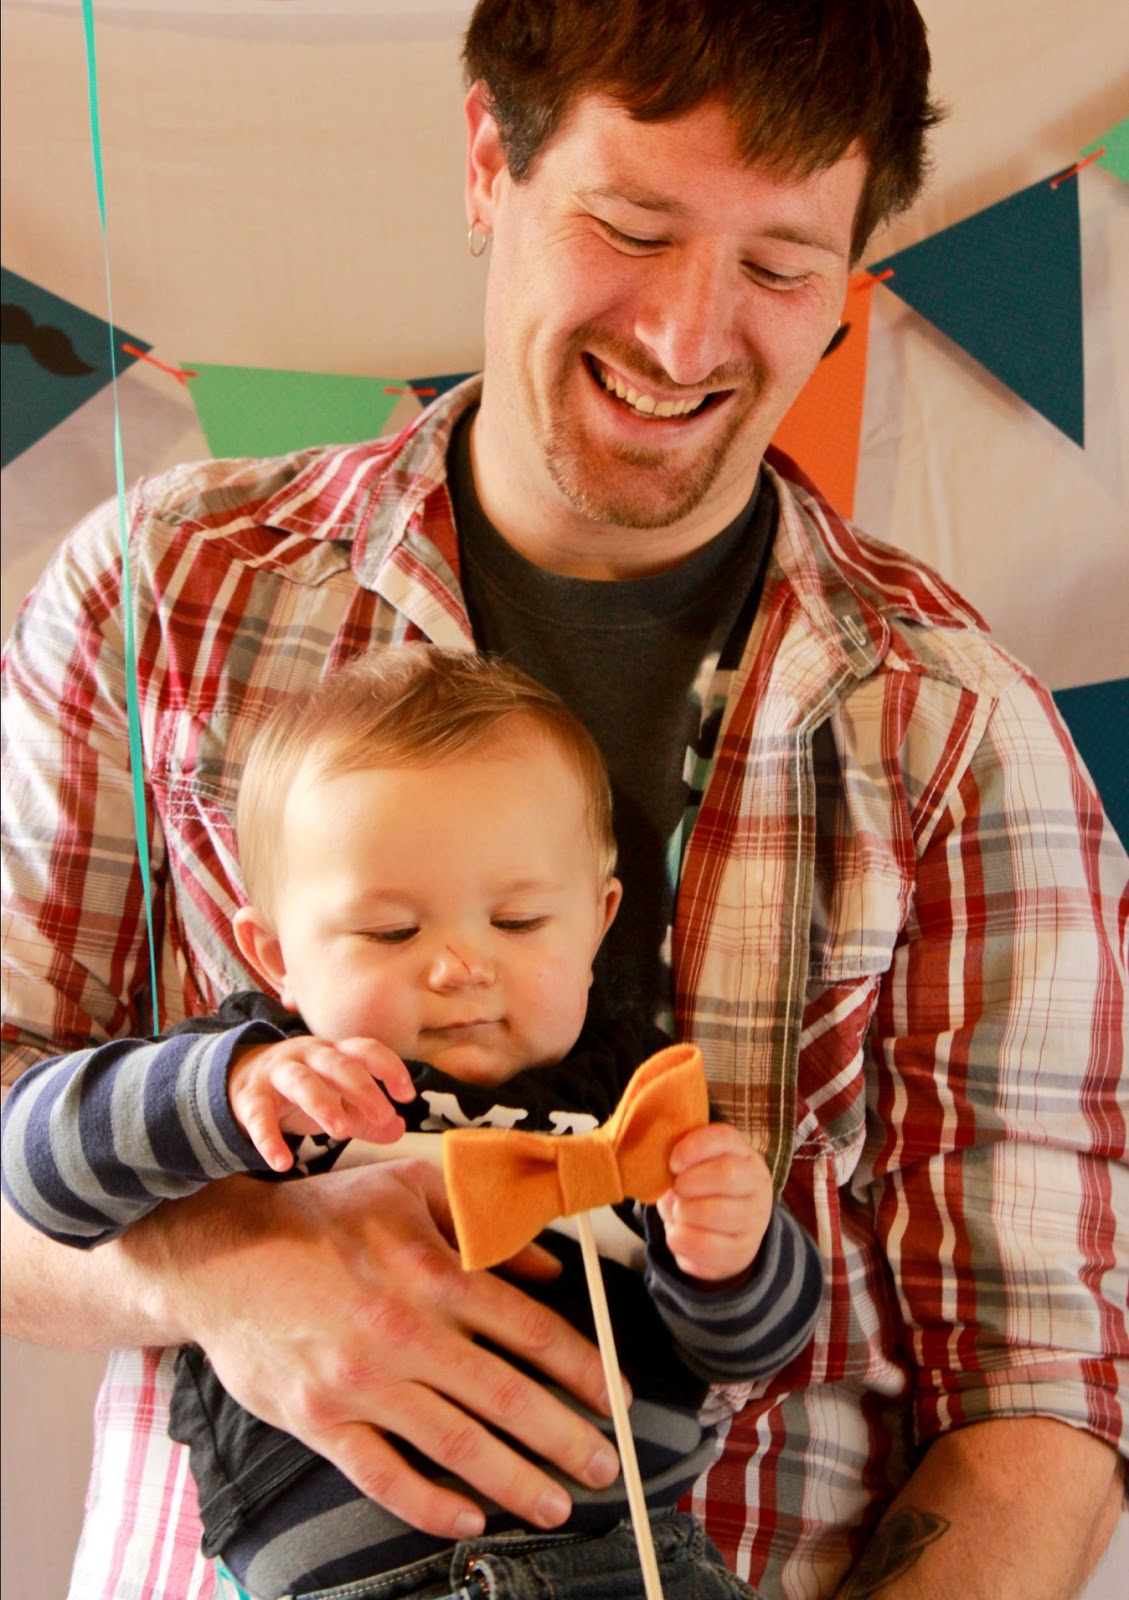
It was little man's first birthday! And we threw him a little gentleman's 'stache bash. I love a baby in a bow tie.

A big hit at the party was the photo booth I put together. And by "booth" I mean wrinkly sheet I hung in the corner. Don't get me wrong. We tried to iron it before the party, but it somehow re-wrinkled by the time I hung it up. 

The mustache props were so easy put together. And the photo booth was so much fun for all of the adults while the toddlers played in the ball pit and pushed dump trucks around.

This is one of my favorite pics from the 'stache bash photo booth. Louise and Angie crack me up!

Notice the wrinkly sheet I mentioned earlier.


Let's go through the easy step-by-step to make your own photo booth props.

Sunday, November 25, 2012

Baby Birthday Banner {Tutorial}


It was my nephew's first birthday last week! And we threw him a mustache bash. I'll be sharing all of the stashy details soon enough. First up, this super cute baby face birthday banner. I got the idea from Stephanie over at Simply Radiant

I made two banners celebrating my nephew's adorably expressive face throughout his first year. And I absolutely love how they turned out. Some party goers thought they were really cute, some thought they  were a wee bit "creepy", but one thing's for sure they made everyone smile. My aunt even kept one of the banners to hang in her cubicle at work.

Wednesday, July 18, 2012

A Very Polished Thank You {Free Printable}

I know I've been a little M.I.A. from the blog for the last week or so. Reason: I've been moving. Was it planned? No. Was it fun? No. Do I have 500 ugly bruises scattered all over my legs? Yes! Was I reminded of how much crap I have that I don't need, that tends to weigh a ton? Yes!

So through some enormous miscommunication, our property management company thought that we were moving out and we...thought that we were renewing our lease for another year.

They called us on a Friday, wondering why we had dropped off a rent check, since we were supposed to be out of the house the following Tuesday. The house had been rented to someone else. WHAT?! That was news to us.

After the initial anxiety and shock factor, and visions of us living out of storage unit, we decided to roll with it. I mean, we weren't really in love with the location of our house anyway.

The property management, being very apologetic, was willing to show us a new house immediately. We ended up signing a lease for a new place that night. The house is a little bit smaller, but in a much better location. It also has a huge fenced in backyard for our puppy, complete with kiddy pool, which Stella loves.

You just never know what life is going to hand you. One thing I do know - I have amazing friends. Family and friends, who I know had much better things to do, rallied together to help us move on such short notice. I will be cooking many thank-you dinners in the near future.

Thursday, June 21, 2012

Road Trip Kit {Tutorial}

My parents are currently on a very long road trip and my house was the first stop. Knowing my mom's tendency to crave snacks and my step-dad's affinity for pop-rock mixed CDs, I wanted to make them a road trip kit, to take with them the rest of the way.

This six-pack case had been hanging out in my craft room for awhile, waiting for the perfect occasion to be used. This was it. And just like the robot baby shower favors, this kit uses Starbucks Frappaccino bottles. They're piling up in my garage, so the more crafty ways to reuse them the better.  

This kit is cute, portable, full of tasty snacks and road trip tunes - it's the perfect road trip companion. Best of all it's cheap. This easy gift was made from things I had laying around the house. The only thing I went out and bought specifically were the snacks (tailored to my parents tastes, of course).


Thursday, June 7, 2012

Brag Books from Paper Lunch Sacks


My mom saw a little brag book in a local store made out of brown paper bags. She asked if I could make her one. Well...I love a challenge. After tinkering around in my craft room for awhile, I came up with these little brag books, using brown lunch sacks from my pantry.

These brag books are just what you'd think. They're mini scrapbooks to show off the little ones in your life.  They can easily fit in your purse and they're a definite upgrade from wallet photos.


The open ends of the lunch sacks become pockets for extra photos. So as time goes by you can always tuck more recent photos inside.

Friday, February 24, 2012

"Bling Box" for Little Ladies

Our friends' little girl turned 3 a few days ago and I wanted to make her something special for her birthday. The challenge was my limited budget and last-minute time crunch (my creative genius always likes to make its appearance at the last minute). I knew that she loved to play dress-up with her cousins. So I came up with the idea for a "bling box." 

This bling box has everything a little lady needs to accessorize her outfit - necklaces, bracelets, rings, sunglasses, and girly headbands. And it's made mostly from stuff I had around the house and items from the dollar store.


I used a hatbox, that I already had laying around the house, and personalized it with her name.
I used my Cricut to cut out the letters, then decoupaged them, as well as a blue strip on the side, onto the box using Mod Podge.

Wednesday, February 1, 2012

{Free} Mustache Bookmark Printables


I recently got Photoshop and I've been trying to learn how to work its magic. Inspired by these Valentines from Plum Adorable, I decided to make mustache bookmarks for my little sister's birthday. I started with photos of my baby nephew in Photoshop and then ran with it. It was worth it for the sheer amusement; I laughed out loud so many times (Ryan gave me the "you're weird" eyebrow lift). My nephew is just too cute, especially with a Mario Brothers' mustache.


I made the bookmarks to accompany the first two books of The Hunger Games trilogy in her birthday package. If you haven't yet, you should must read these books! They're pretty addicting.


To start, I used my sister's instagram photos of the baby, but any photo cropped down to a square will work. Then I googled "free mustache clip art." Here's a 'stache that I used. I used Photoshop to add the mustaches to the photos. If you don't have Photoshop, I'm pretty sure you can do the same thing with Pixlr for free!


I then came up with mustache-related sayings. Only one is actually related to reading...oh well! After printing the bookmarks off, I cut 'em out and glued 'em to cardstock in a contrasting color.

Sunday, January 1, 2012

DIY Doll Beds and Tiny Quilts

Ryan's nieces love their American Girl dolls, so I wanted to make them something for Christmas that their dolls could use. Their dolls already have millions of outfits. Why not furniture? I came across lots of ideas including this picnic table, which I'm also dying to make. Ultimately, I decided on these farmhouse beds from Ana White

For our first wood project together, I would say that Ryan and I did a pretty rockin' job. And we did it for only $20 each! I'll break down the cost at the end of the post. I also made my first quilt ever. Actually, two. They may have been mini, but that's two mini victories for me.


One niece likes pink and the other likes purple. I spent a long time in the fabric store choosing fabrics to go together. So long in fact, that some woman asked me for help, because she thought I worked there.


 The beds fit 18" dolls.

The reverse side of the quilts are awfully cute too.

We used step by step instructions for the farmhouse bed from Ana White's blog. If you've never been to her site, you have got to check it out! She is incredibly talented, a lumber goddess really. The best part of it all is that she makes it easy for you to build beautiful things too. Go to her site, you'll see.

A couple of things we did differently from Ana White's instructions. We only used four panels in the headboard and foot board (with five slots it was wider than we needed). Also, to save money, we used thick cardboard (instead of plywood) to support the mattress.

The beds coming together.

My man hard at work. We realized that we desperately need a larger work space if we're going to do more projects like this in the future. Somehow he made it work with just the top of his tool chest and two not-so-sturdy sawhorses.

Once Ryan finished putting the beds together, I used wood filler on the screw holes then sanded the whole bed down. I then primed and painted the beds with some paint I had leftover from the antique dresser and hutch.

Now for the bedding. Remember I'm no expert. But I'll try to explain how I made the doll quilts.

Friday, December 23, 2011

Sexy Laughs for Crafty Ladies

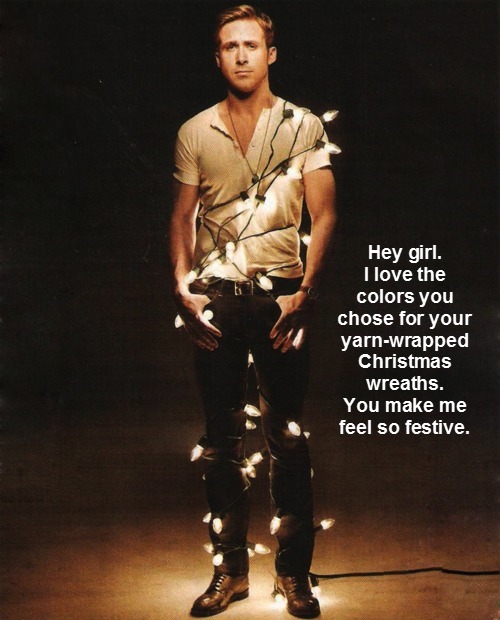
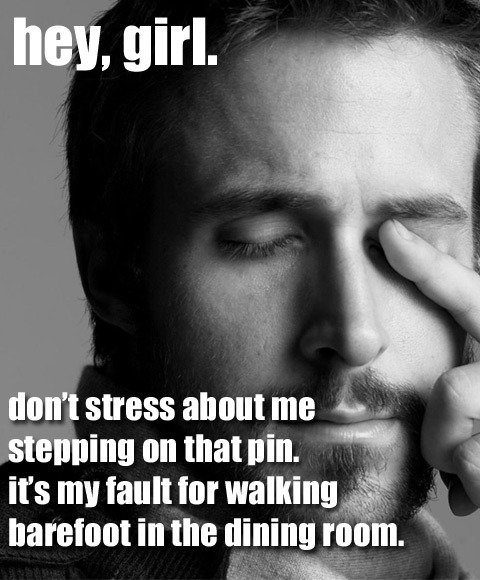
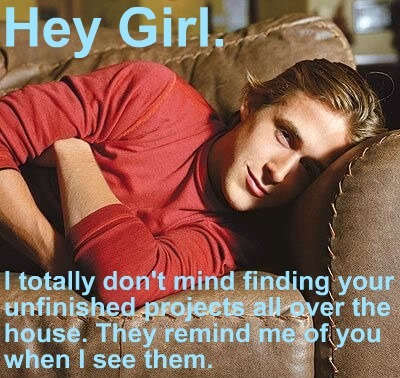
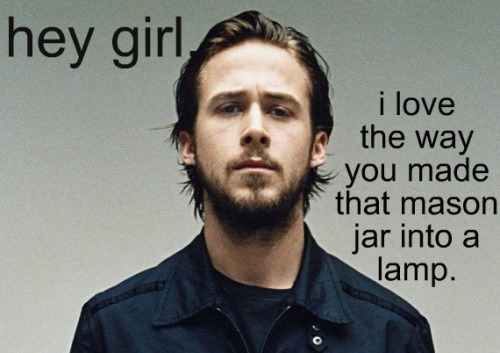
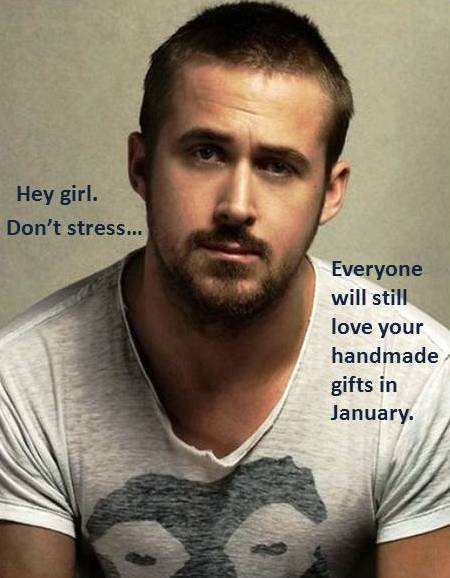
Do you ever come across something that's so totally off the wall, but completely amazing? Something that doesn't serve a practical purpose, but makes your day that much better? Cue Handmade Ryan Gosling.


Have you seen those cheesy books in Barnes and Noble called Porn for Women? They're filled with pictures of sexy lumberjack men (mostly clothed) ironing clothes and doing the dishes while telling you how beautiful you are. Well this site is that, but for crafty chicks. Hilarious, sexy, purely awesome. If your day needs a pick-me-up, go check out all of the submissions.

Here are some of my favorites:


Merry Christmas to all of you crafty folks out there! And if you're like me and finishing up handmade gifts the day before Christmas Eve, good luck!

Thanks Handmade Ryan Gosling for making me laugh and for making me feel better about my crafting woes!

LinkWithin

Related Posts Plugin for WordPress, Blogger...